🎨Dual-Colour 3D Printing: A Tale of Two Cubes
When it comes to 3D printing, even the simplest objects can reveal complex truths. In a recent experiment, I printed the same small cube twice — both in black and white — but with dramatically different approaches. The results? Eye-opening.
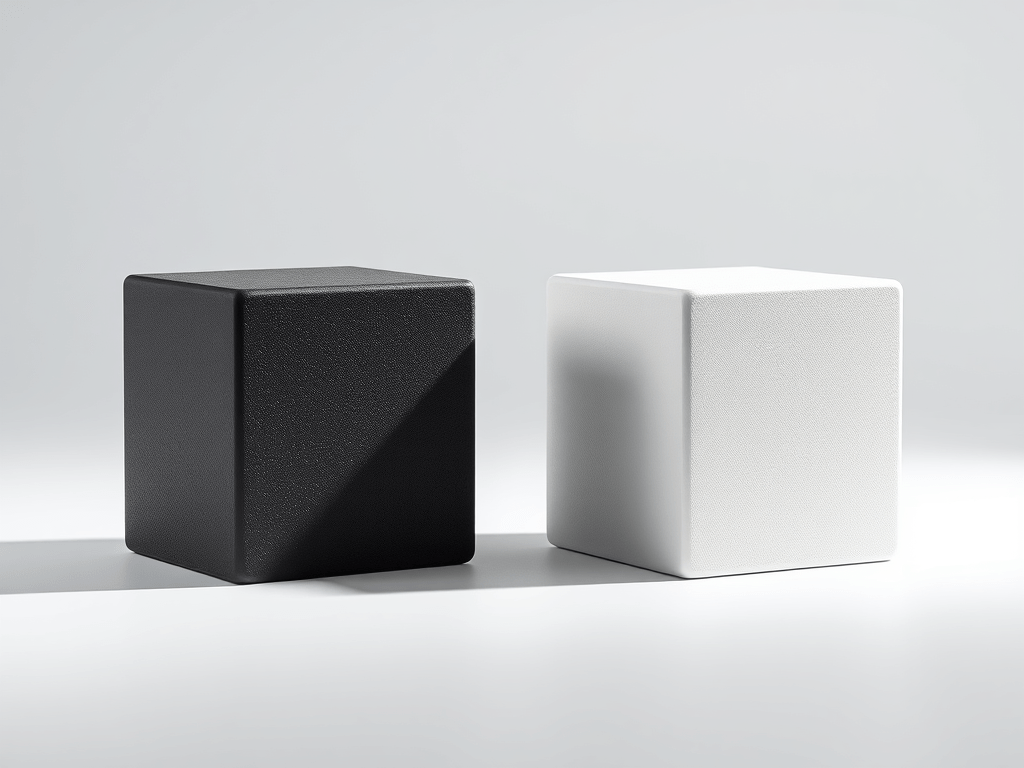
🧊 Cube One: The Classic Split
For the first print, I kept things straightforward. I printed the cube first black and then white. The print took 23 minutes and 19 seconds, used 5.74 grams of filament, and required just one filament change. Clean, efficient, and predictable.
🧊 Cube Two: Layered Duality
Then came the twist. I reoriented the cube so that each layer would be split — half black, half white. This meant the printer had to switch filaments constantly, layer by layer. The result?
- Print time: A whopping 3 hours and 20 minutes
- Filament used: 46.10 grams
- Filament changes: 100
Yes, 100 filament swaps for a single cube.
🔍 What This Taught Me
This wasn’t just a test of aesthetics — it was a deep dive into the mechanics of dual-colour printing. Here’s what stood out:
- Filament changes are costly — not just in time, but in material. The purge process alone can eat up grams of filament.
- Orientation matters — printing on the side to achieve layered colour effects dramatically increases complexity.
- Design efficiency is key — if you’re aiming for dual-colour prints, consider how the model’s orientation and slicing strategy will affect print time and waste.
💡 Final Thoughts
Dual-colour printing opens up exciting possibilities for visual design, but it comes with trade-offs. This experiment reminded me that every design choice — even something as simple as orientation — can ripple through the entire print process.
Would I do it again? Absolutely. But next time, I’ll be armed with smarter slicing strategies and a better understanding of what’s really at stake.


Leave a comment